There’s something special about chasing the Northern Lights. You check the forecast. You look at the clouds. You stare at maps and solar activity. You wonder whether it’s worth getting dressed and stepping outside into the freezing night. And sometimes… nothing happens.
But sometimes, you drive a few kilometers, park somewhere completely dark, look up at the sky and there they are. After spending time travelling through Scandinavia and looking for the aurora ourselves, we’ve learned that you don’t necessarily need a tour operator to see the Northern Lights. You do need a little preparation, a bit of patience, and most importantly, you need to understand what you’re actually looking for.
Here’s our method:
Don’t chase the Kp. Chase the conditions.
The Kp index is probably the first thing most people hear about when they start looking for the Northern Lights. And yes, Kp is useful. But it doesn’t tell you the whole story.
A good aurora forecast is really about putting several pieces together:
Kp + auroral oval + clouds + darkness + location + timing = your real forecast.
You can have strong solar activity and see absolutely nothing if you are standing under a thick layer of clouds. And you can sometimes see beautiful auroras when the Kp index doesn’t look particularly impressive, especially when you are already far north.
So rather than waiting for a magical Kp number, we look at the whole picture.
1. Check aurora activity
The first thing we do is check an aurora forecast app. One of the easiest options for beginners is My Aurora Forecast. It gives you an accessible overview of aurora activity, the Kp index, the auroral oval and other useful information. When checking the forecast, we look at:
– The Kp index
– The position of the auroral oval
– Forecast aurora activity
– Real-time activity and alerts
But remember: Kp is not a guarantee
The Kp index is a global measure of geomagnetic activity. It can be useful for getting a general idea of how active the geomagnetic field is, but it doesn’t tell you exactly what will happen above your head.
Your latitude matters too. The further north you are, the less geomagnetic activity may be needed for the aurora to be visible.
That’s why we never decide whether to go outside based on Kp alone.
2. Check the cloud cover
This is probably one of the most important things to check. The aurora can be active above you and still be completely invisible because of clouds. That’s why, after checking aurora activity, we immediately look at the weather. We pay particular attention to cloud cover, ideally hour by hour. And this is where things can get interesting.
Imagine that the aurora forecast looks promising where you are, but the weather forecast shows a completely cloudy sky.Don’t automatically give up. Look at the surrounding area. Sometimes the difference between seeing nothing and seeing an incredible display is simply being on the other side of a patch of cloud.
Clear skies + aurora activity = a much better chance
There are never guarantees, but having both ingredients at the same time is what we’re looking for.
3. Timing matters
Another mistake is checking the forecast once in the evening and then forgetting about it. Aurora conditions can change. Our approach is to check things several times. First of all, are we in the right season for the Northern Lights? I’d say roughly from September to April.
You need enough hours of complete darkness to have a chance of seeing them. And keep in mind that during summer in the far north, there’s the midnight sun, meaning the sun doesn’t set at all. So during that time, there’s basically no chance of seeing the Northern Lights.
The best time is usually between 10 p.m. and 4 a.m., when it’s fully dark. But of course, it depends.
The day before
We look at the general trend. Is there any interesting solar activity coming? Does the forecast look promising?
A few hours before
We check the latest cloud forecast and aurora activity.
This is when we start deciding whether it makes sense to go out.
30–60 minutes before
We look at the most recent information and real-time conditions. And once we’re outside, we keep checking. The sky can change quickly, and so can the conditions.
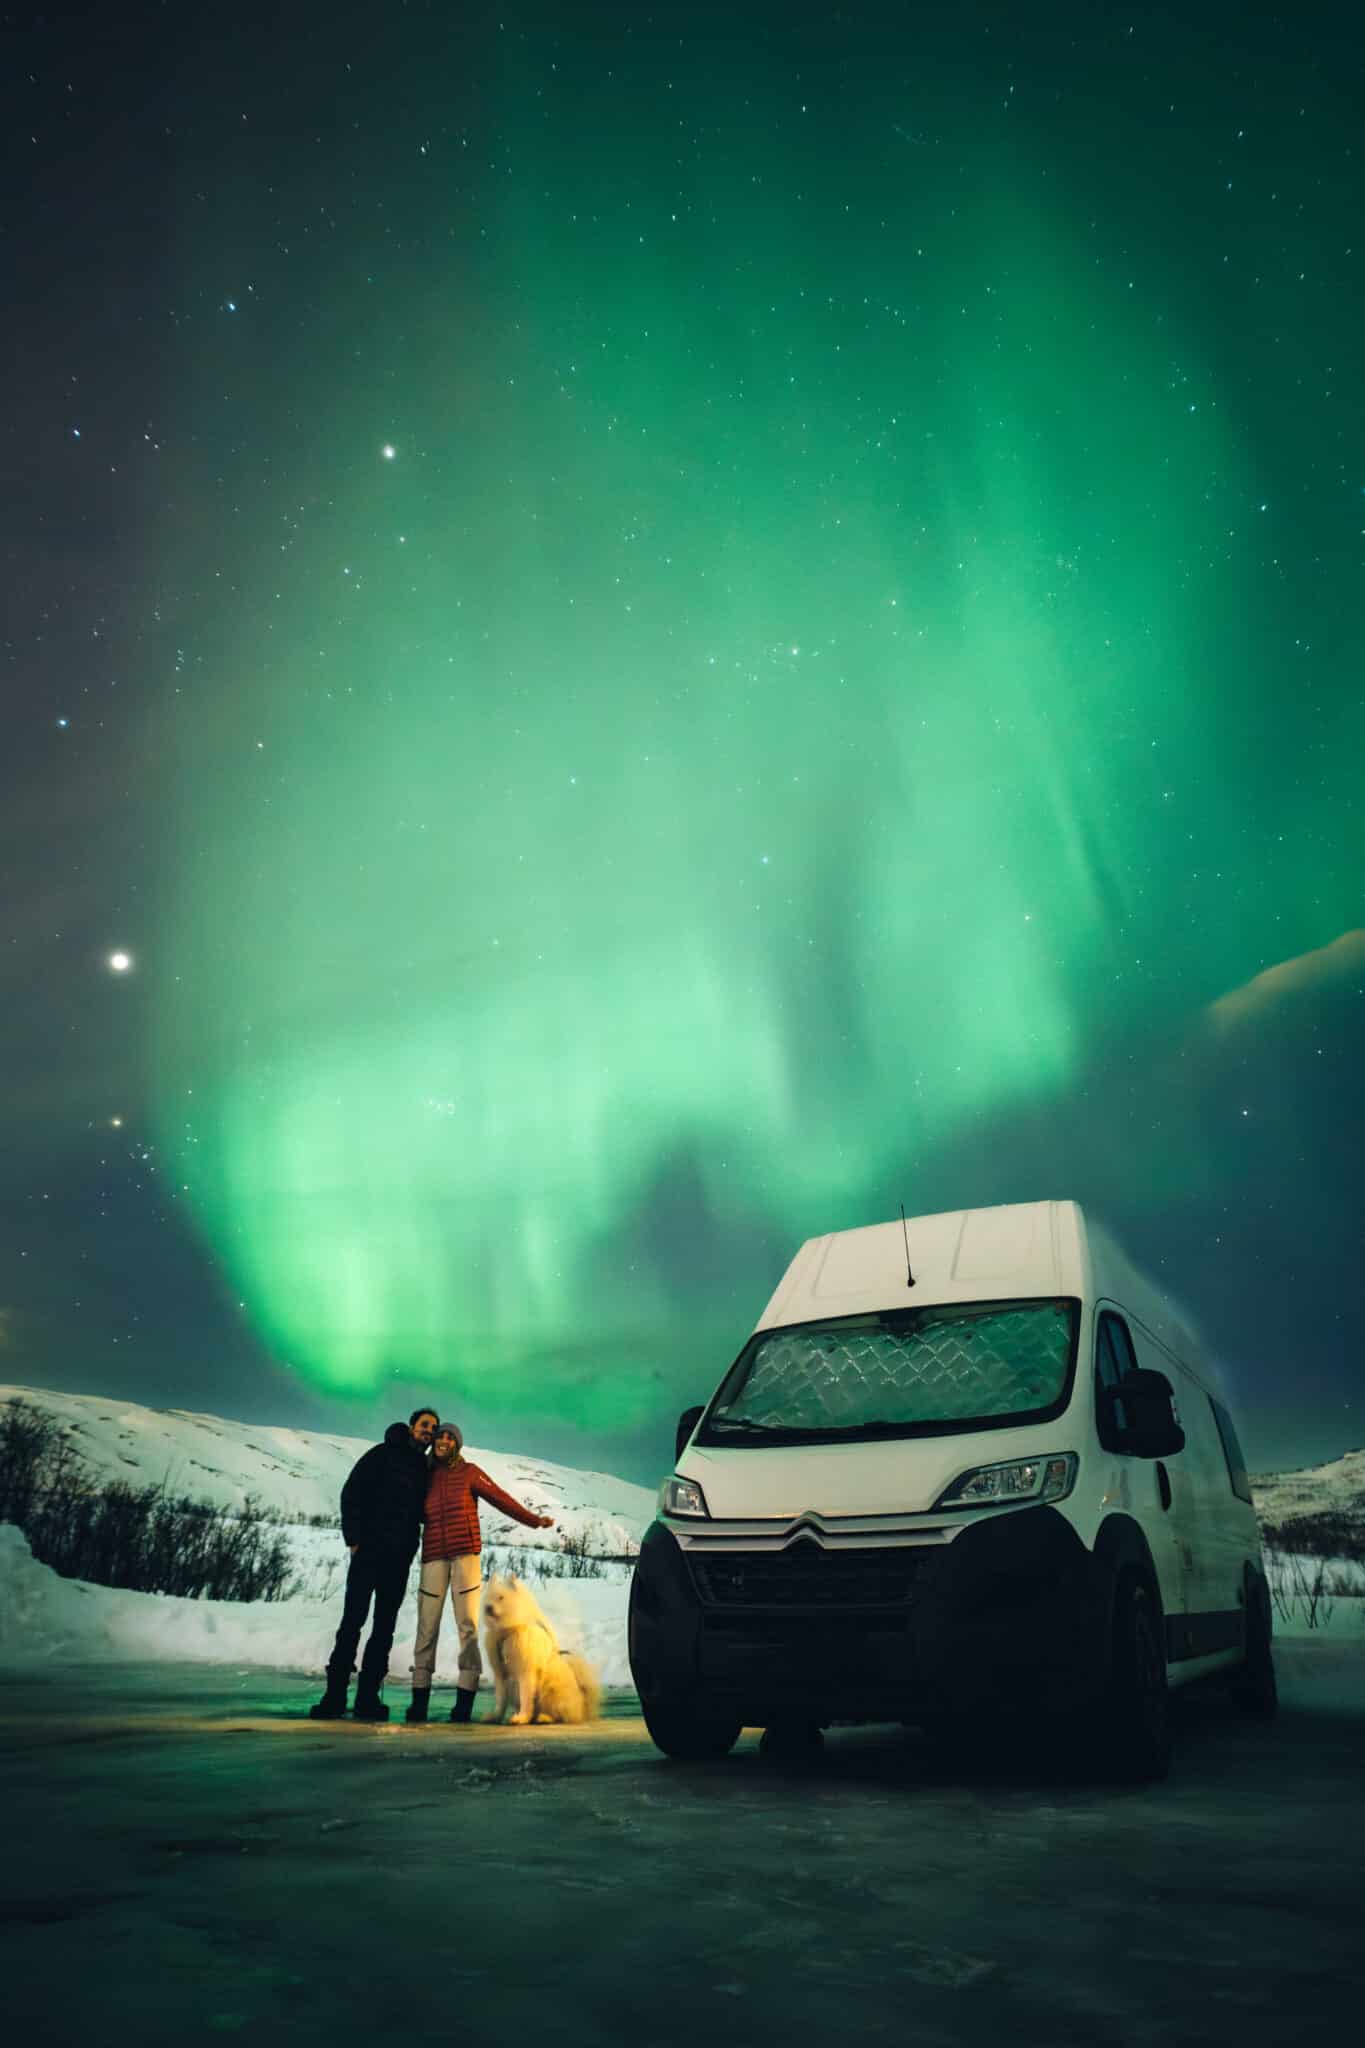
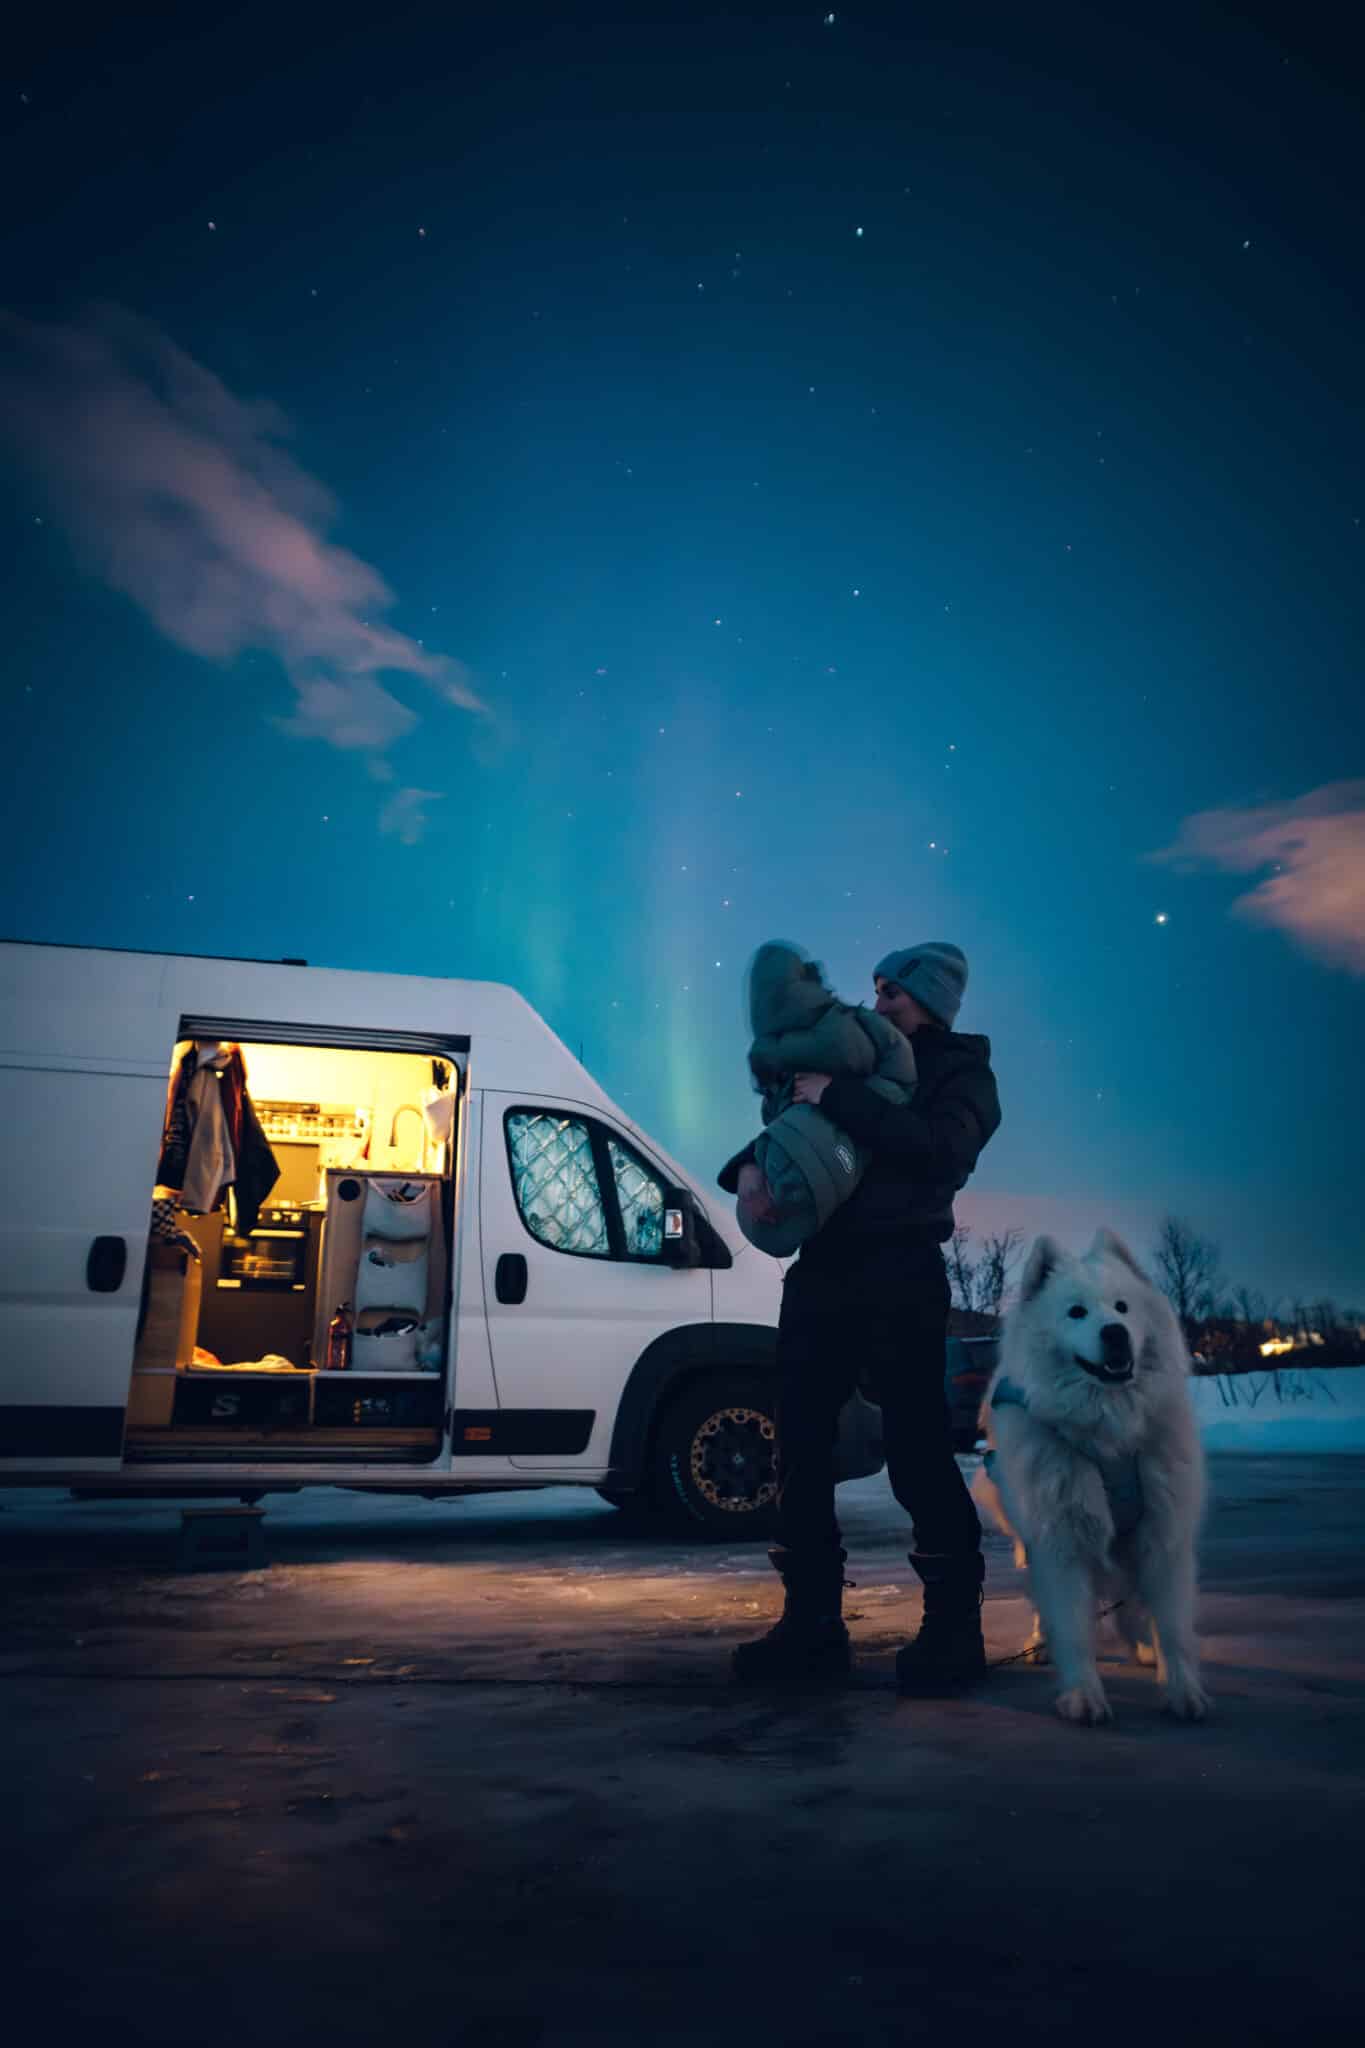
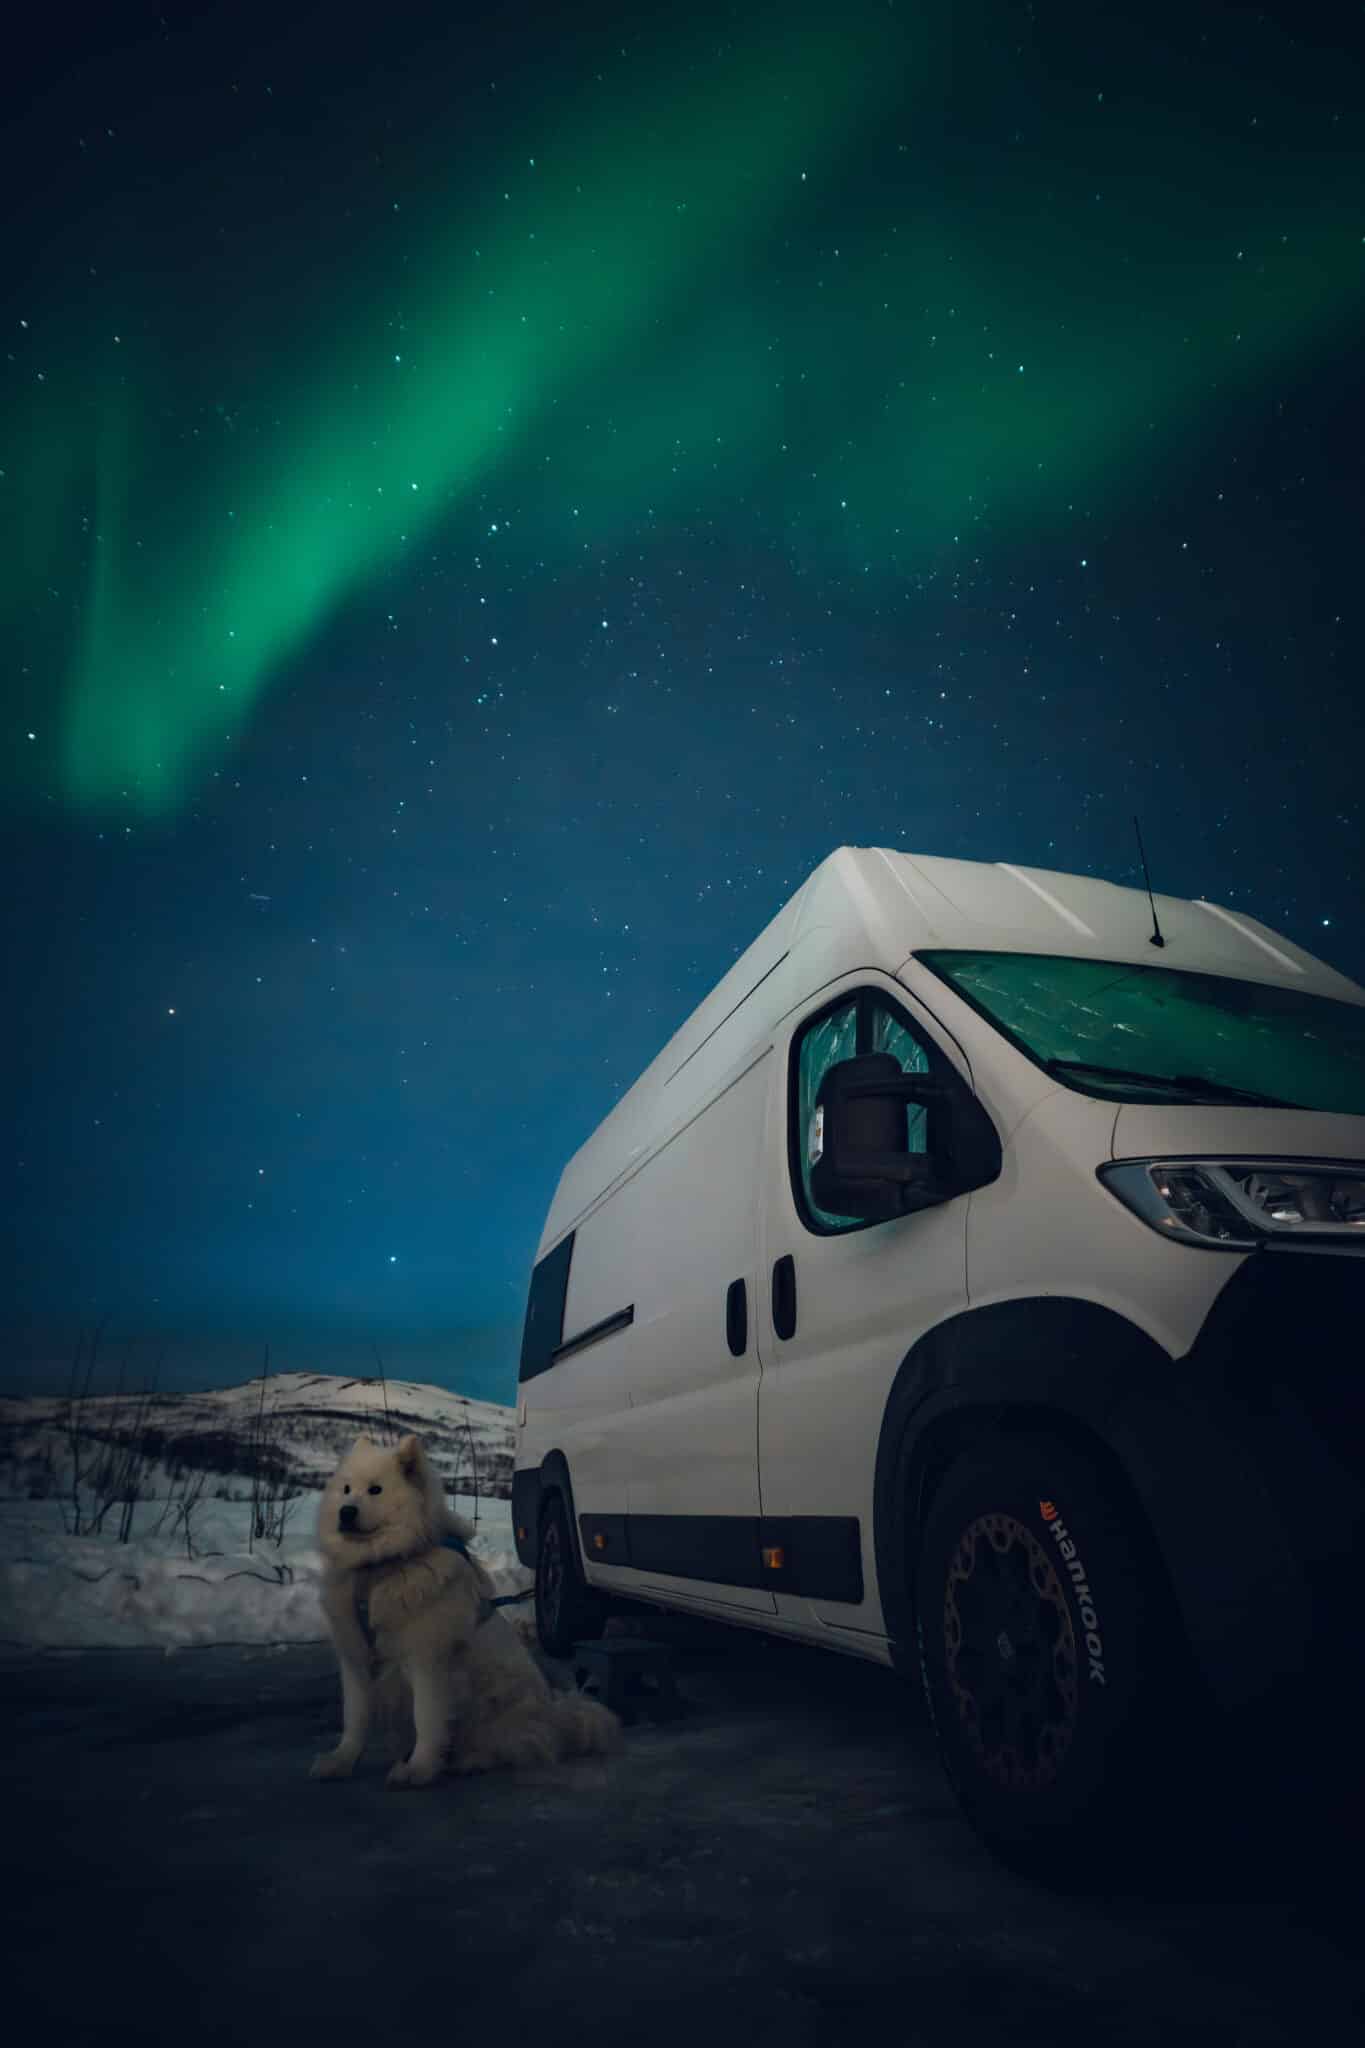
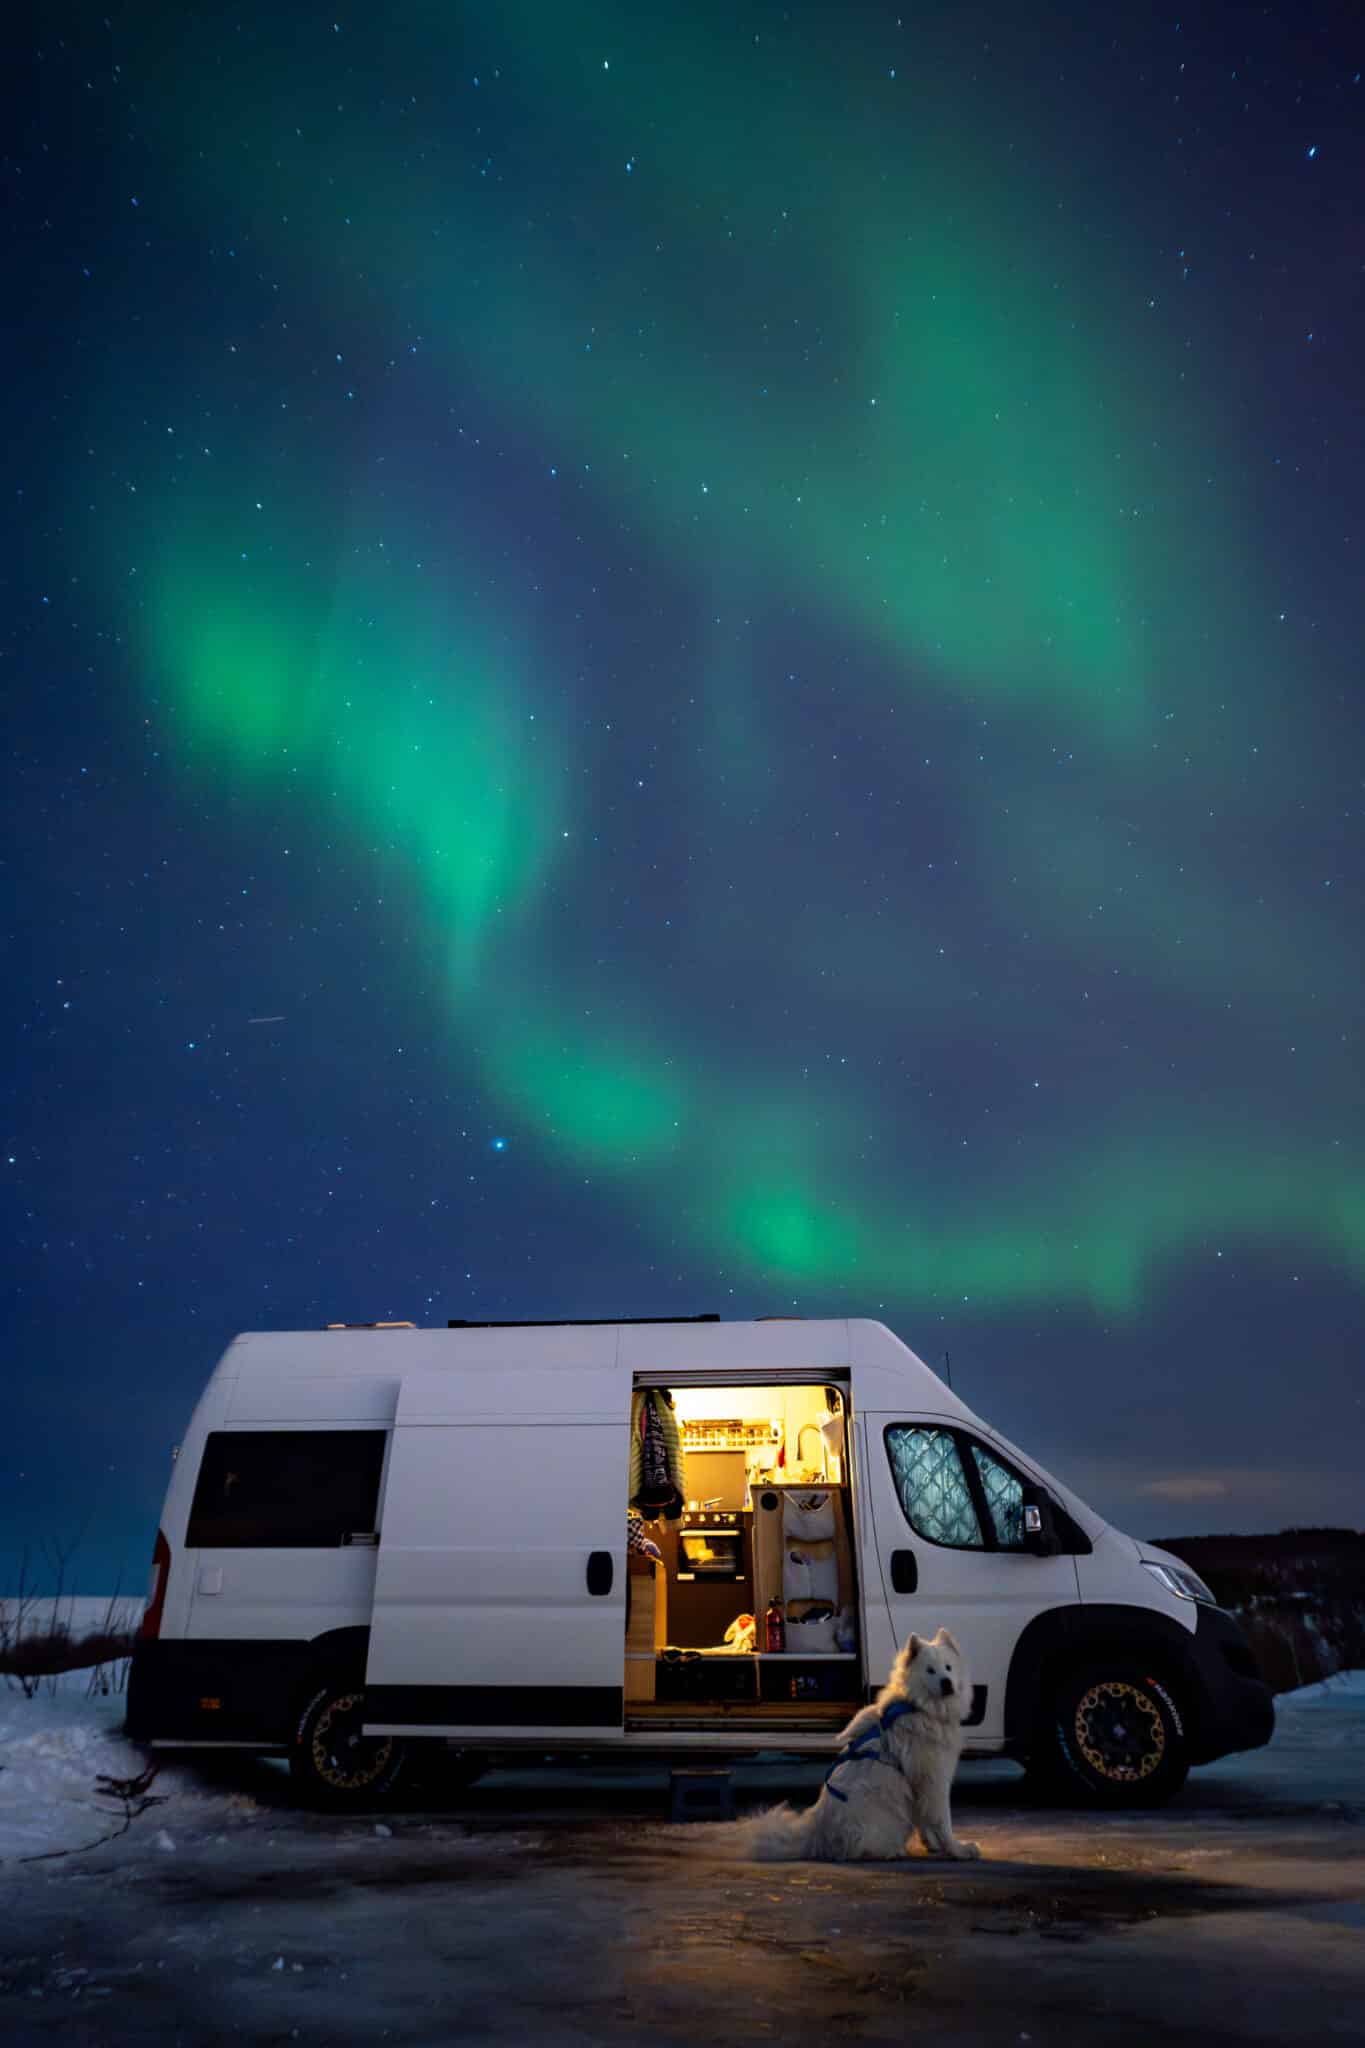
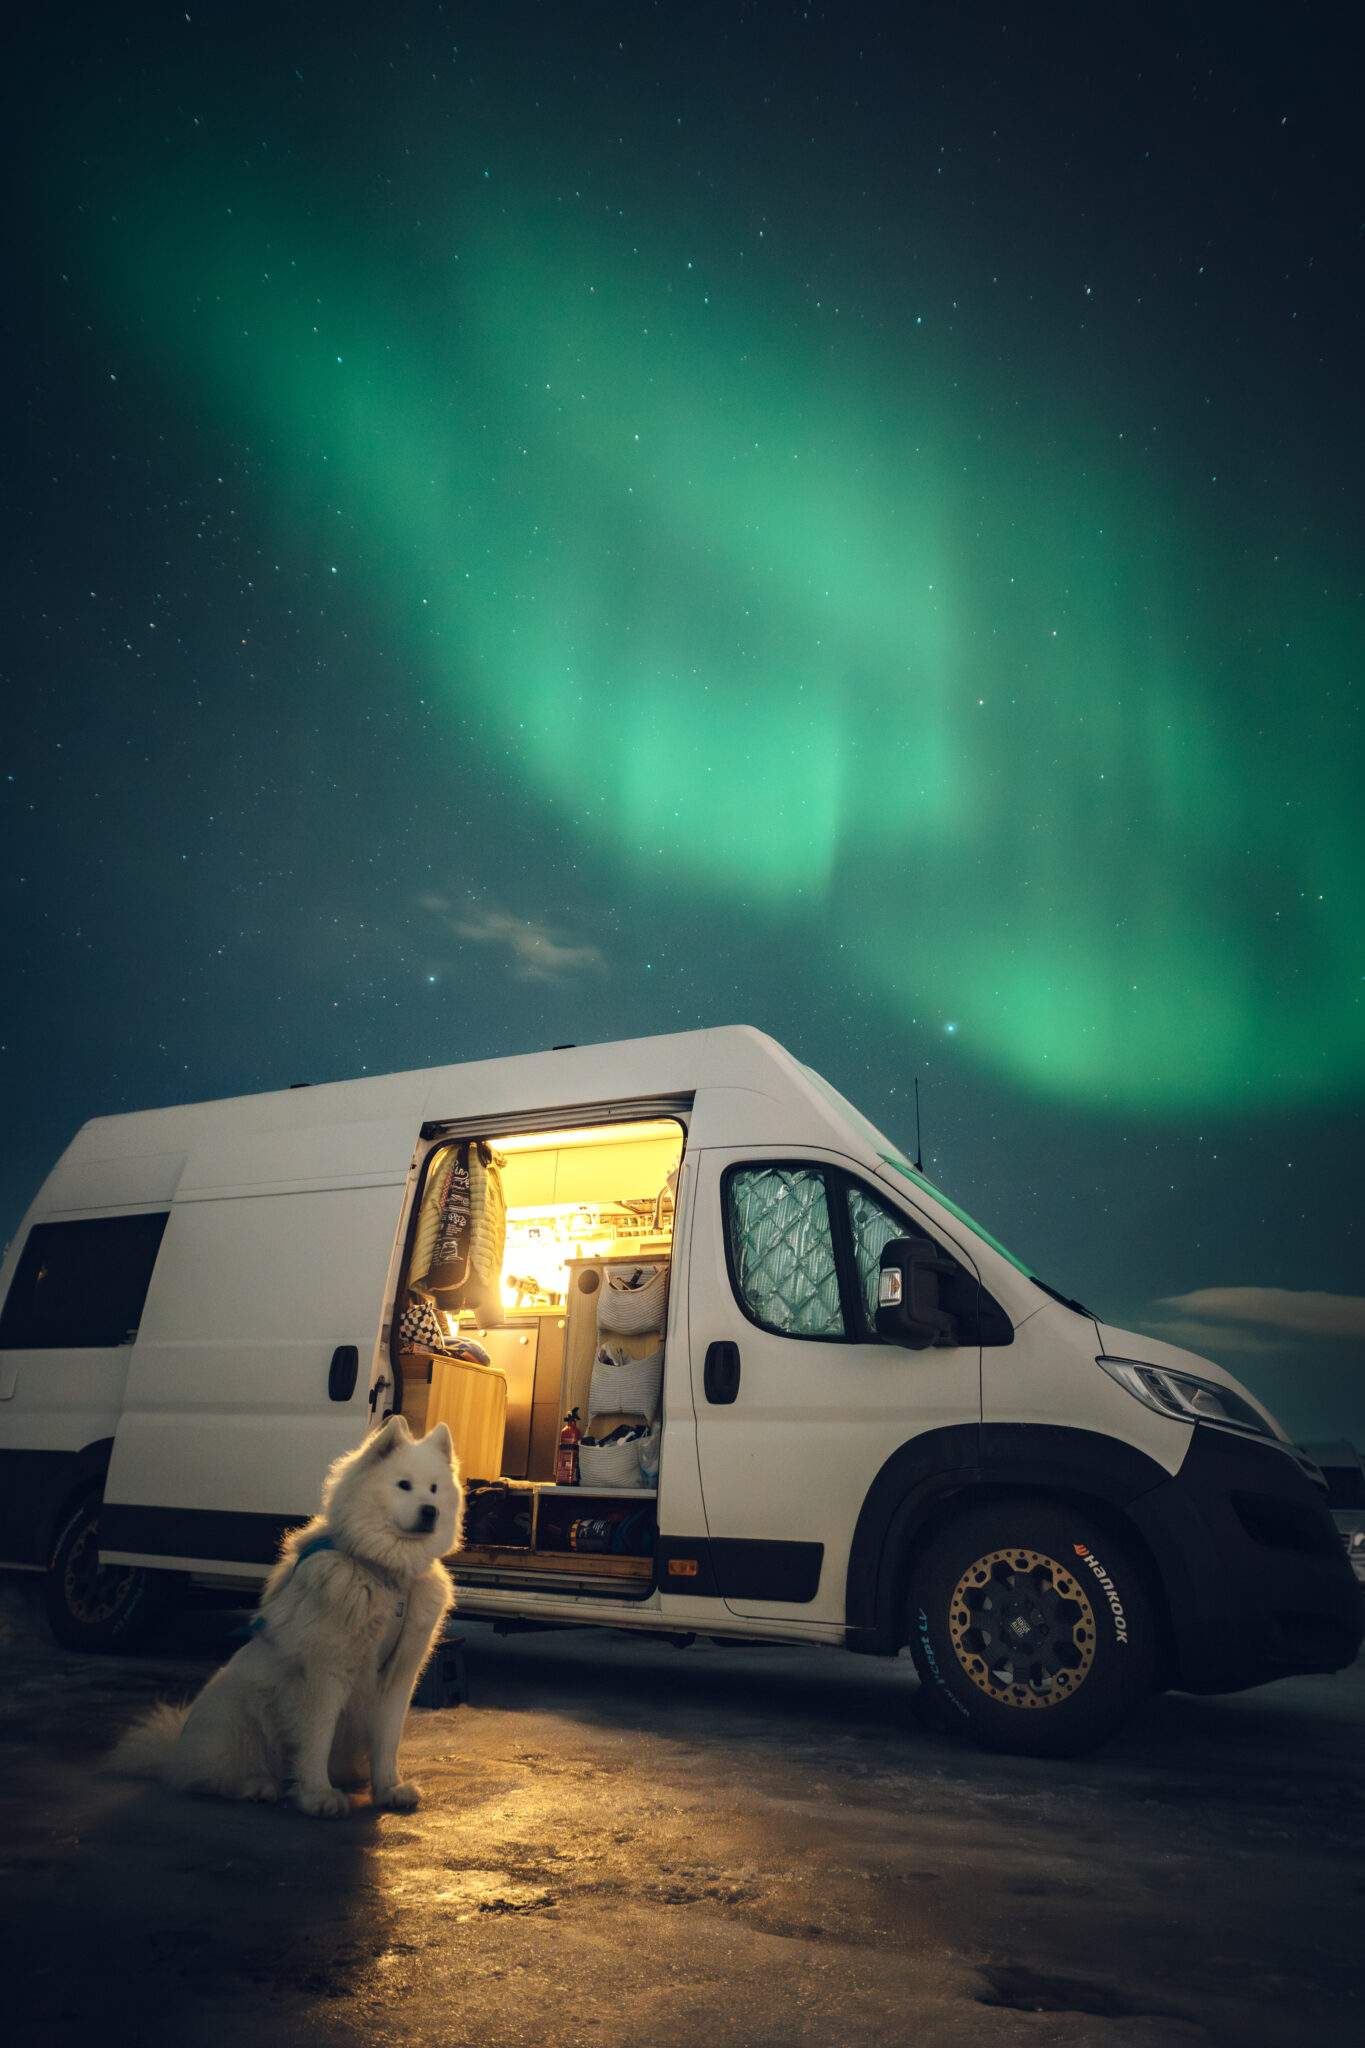
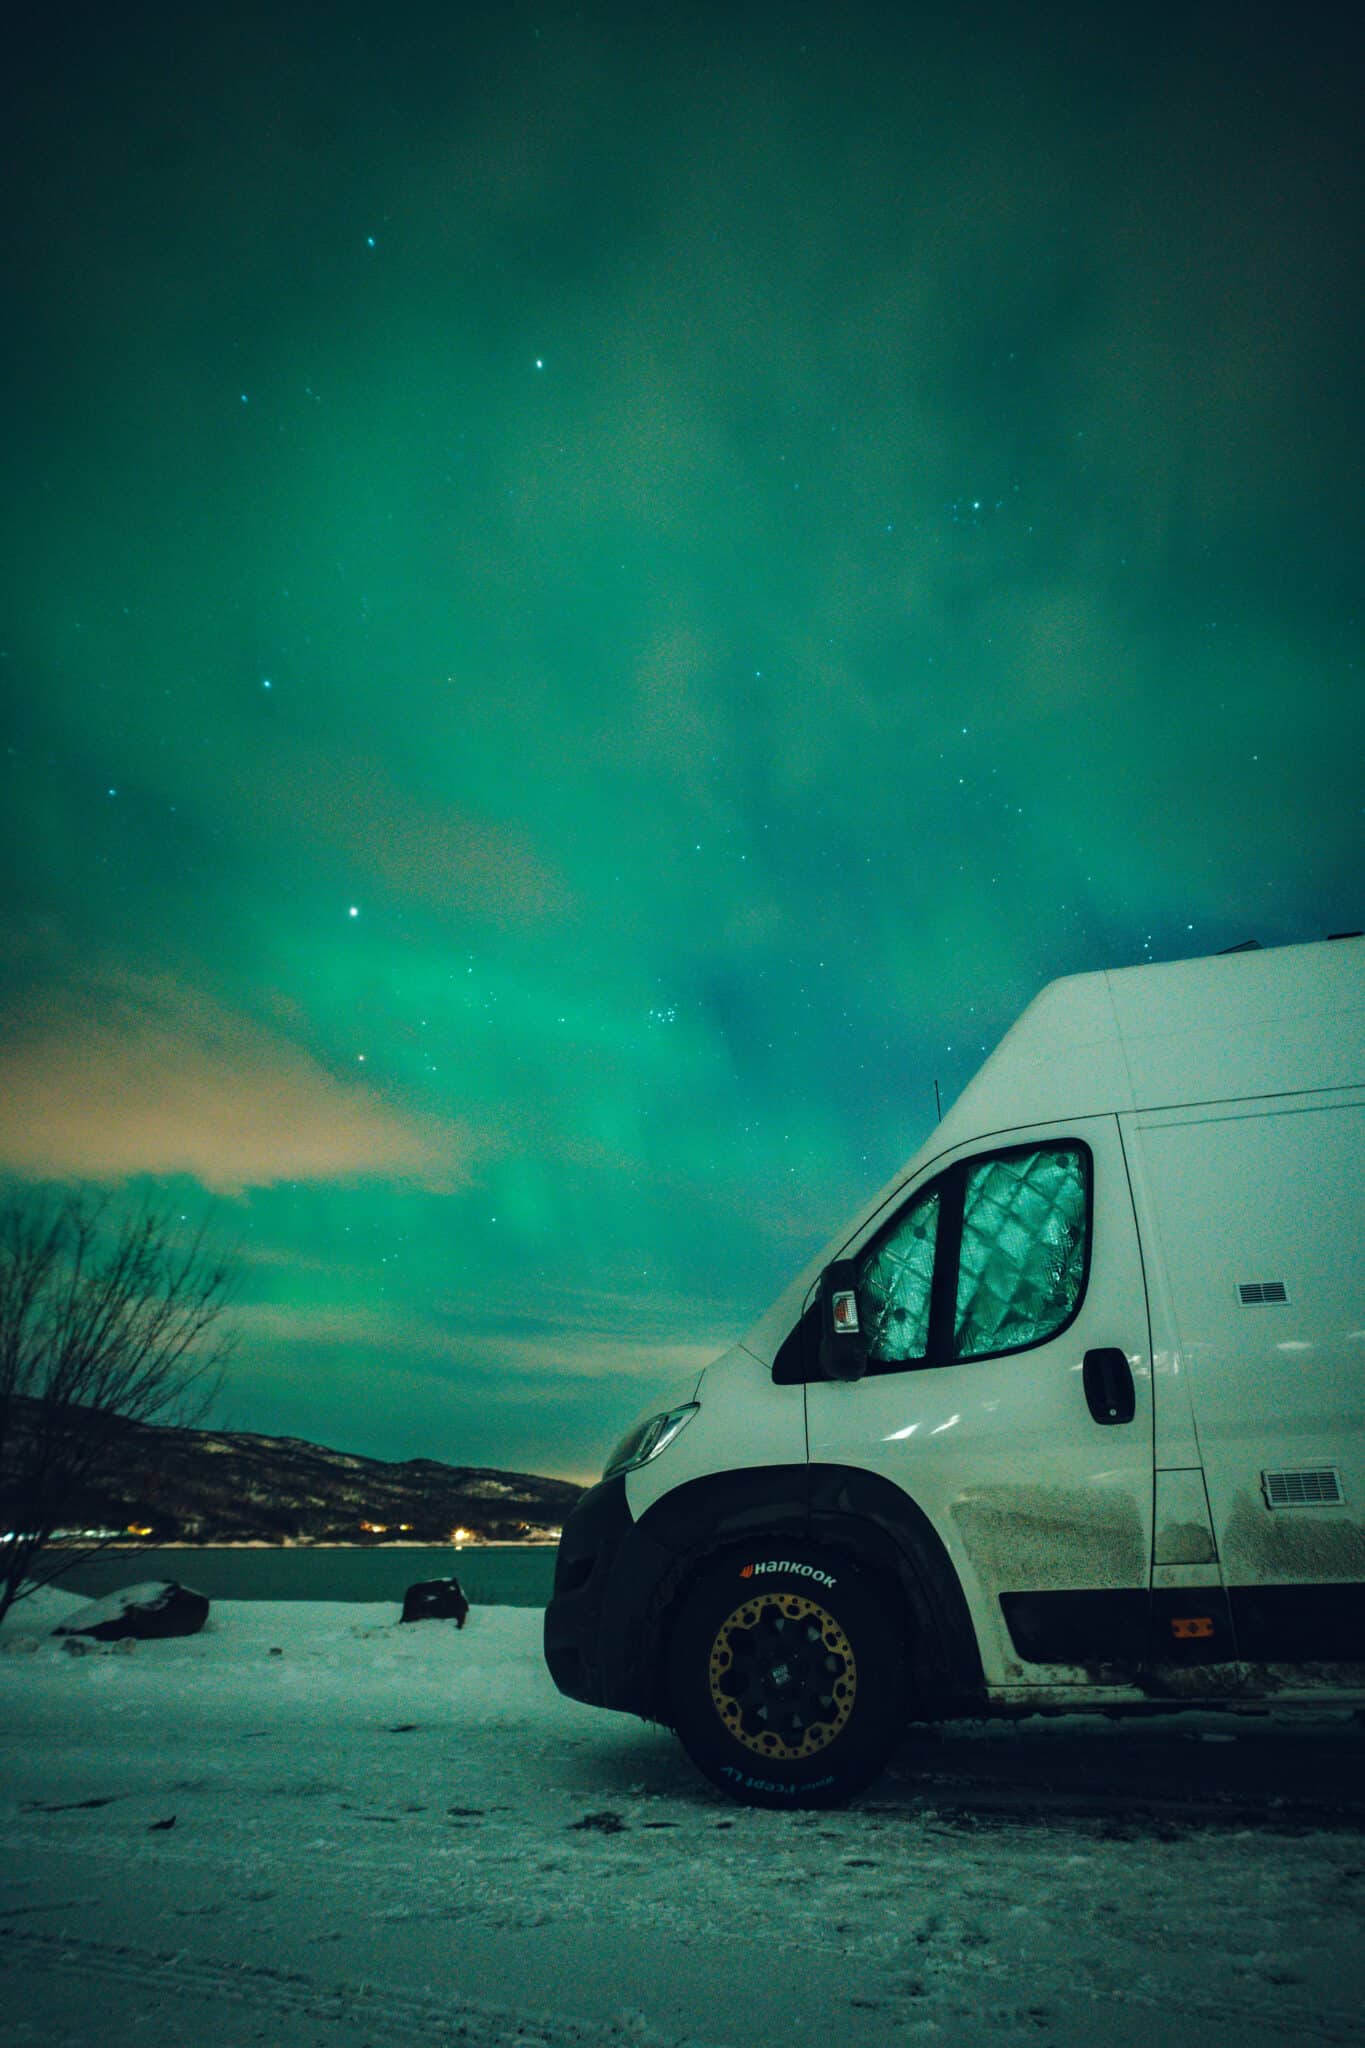
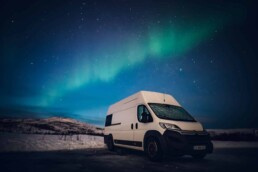
An exemple of northern lights during our winter trip above the Arctic circle in Norway
4. Find the right spot
You don’t necessarily need a famous Northern Lights viewpoint.
In fact, some of our favourite places have been much simpler.
What we’re looking for is:
- As little light pollution as possible
- A clear view of the sky
- An open horizon
- As few clouds as possible
- Somewhere we can safely stop and, if necessary, move to another location
And this is one of the biggest advantages of travelling by van or an RV.
The weather isn’t great here? Check the map. Look at the cloud cover around you. If the forecast looks significantly better somewhere nearby and it is safe and practical to drive there, you can simply move. You don’t always need to travel hundreds of kilometres. Sometimes getting away from a cloud-covered area is enough to completely change the night.
5. Darkness matters
You also need darkness. Artificial light from towns, roads and buildings can make faint auroras much harder to see. That’s why we try to get away from urban areas whenever possible. A dark location with a wide, unobstructed view of the sky makes a huge difference.
What about the Moon?
The Moon doesn’t mean you can’t see the Northern Lights. A bright Moon can actually make the surrounding landscape beautiful and give your photos a completely different atmosphere. But when the aurora is weak, moonlight can reduce the contrast between the aurora and the night sky. So it’s another thing worth checking, just not a reason on its own to cancel your plans.
6. Want to understand what’s happening in space?
If you want to go a little deeper, you can start looking at solar wind data and real-time geomagnetic conditions. This is where things become more technical. Some of the indicators you may come across are:
Bz
Bz is one component of the interplanetary magnetic field. When Bz turns southward (negative), conditions can become more favourable for energy transfer from the solar wind into Earth’s magnetosphere. But Bz can change quickly, so we don’t look at it in isolation.
Solar wind speed
This tells you how quickly the solar wind is travelling.
Solar wind density
This indicates how much solar wind material is passing through a given volume.
Real-time geomagnetic activity
This helps you see what is happening now rather than relying only on an earlier forecast. For this kind of information, SpaceWeatherLive is a useful resource. But if you’re just starting out, don’t worry about understanding all of this. You really don’t need to become a space-weather expert to enjoy the Northern Lights.
Start with the basics.
7. The apps and websites we use
You don’t need dozens of apps. For beginners, we’d start with:
My Aurora Forecast
A simple way to keep an eye on aurora activity, the Kp index and the auroral oval.
Windy
Weather app with lots of useful information.
Yr
When travelling in Norway, Yr is one of the weather services we like to check, particularly for cloud cover and local weather conditions.
SpaceWeatherLive
For those who want to understand solar activity in more detail, SpaceWeatherLive provides much more technical information, including solar wind data and Bz.
The important thing isn’t finding one perfect app. It’s cross-checking the information.
8. Our Northern Lights checklist
Before heading out, this is what we check:
☑️ Aurora activity looks promising (Kp index >4, negative Bz, recent forecast)
☑️ The aurora oval is over our area
☑️ Clear skies
☑️ Dark location
☑️ An unobstructed view of the sky
☑️ Moon conditions
☑️ Very warm clothes
☑️ Phone and camera fully charged
☑️ Snacks and something to drink
☑️ A van to get around and have somewhere to rest while waiting
☑️ Patience and enough time
And that last one might be more important than all the others.
9. Sometimes you see nothing
This is probably the least exciting part of chasing the Northern Lights, but it’s worth saying. You can have:
- A promising forecast
- Clear skies
- A good location
- Low light pollution
- The right apps
- Everything planned perfectly
…and still see nothing.
Aurora forecasts are forecasts, not guarantees. Sometimes the activity doesn’t develop as expected. Sometimes the aurora is too faint to see with the naked eye. Sometimes you’re simply unlucky.
And that’s part of the chase.
10. Why travelling by van makes it easier
For us, travelling by van has one big advantage when chasing the Northern Lights: mobility.
We aren’t tied to one hotel or one excursion location. If the cloud forecast looks terrible where we are, we can check the surrounding area. If another place has clearer skies, we can move. It also means we can stay somewhere dark, make ourselves comfortable, have something warm to drink and wait.
11. So, do you need a Northern Lights tour?
Not necessarily. Tours can obviously be convenient, especially if you’re visiting the Arctic for the first time, don’t have a vehicle or simply don’t want to deal with forecasts and driving. But if you’re travelling independently, you can absolutely learn to monitor the conditions yourself. You don’t need to understand every solar-weather graph.
Start simple:
Aurora activity + clouds + darkness + location + timing
Then, if you become obsessed with it like we did, you can start diving deeper into solar wind, Bz and real-time geomagnetic activity. And eventually, you might find yourself standing in a freezing parking area at midnight, staring at your phone and thinking: “Should we drive another 30 kilometres?” That’s when you know you’ve become a Northern Lights chaser.
Final tip: don’t chase the forecast, chase the conditions
The Northern Lights are unpredictable. That’s part of what makes seeing them so special.
Our best advice is simple:
Check several sources.
Watch the clouds.
Find the darkness.
Stay mobile.
Keep watching the sky.
And be patient.
Because when all the conditions finally line up…it’s absolutely worth the late nights.
Save this guide for your next polar/northern adventure and you can check our instagram dedicated post.
And if you’ve ever chased the Northern Lights yourself, we’d love to know: What was your best aurora night ?